Installation of Xschem, Skywater130 PDK and Ngspice


Ming Sun / October 25, 2022
22 min read • ––– views
Introduction[1]
XSCHEM : schematic capture and netlisting EDA tool[1]
Xschem is a schematic capture program, it allows creation of hierarchical representation of circuits with a top down approach . By focusing on interfaces, hierarchy and instance properties a complex system can be described in terms of simpler building blocks. A VHDL or Verilog or Spice netlist can be generated from the drawn schematic, allowing the simulation of the circuit. Key feature of the program is its drawing engine written in C and using directly the Xlib drawing primitives; this gives very good speed performance, even on very big circuits. The user interface is built with the Tcl-Tk toolkit, tcl is also the extension language used[1].
Histroy[1]
Step 1 - install Ubuntu
First, we need to install Ubuntu on to your system. In my case, I use Parallels Desktop[2] to install Ubuntu.


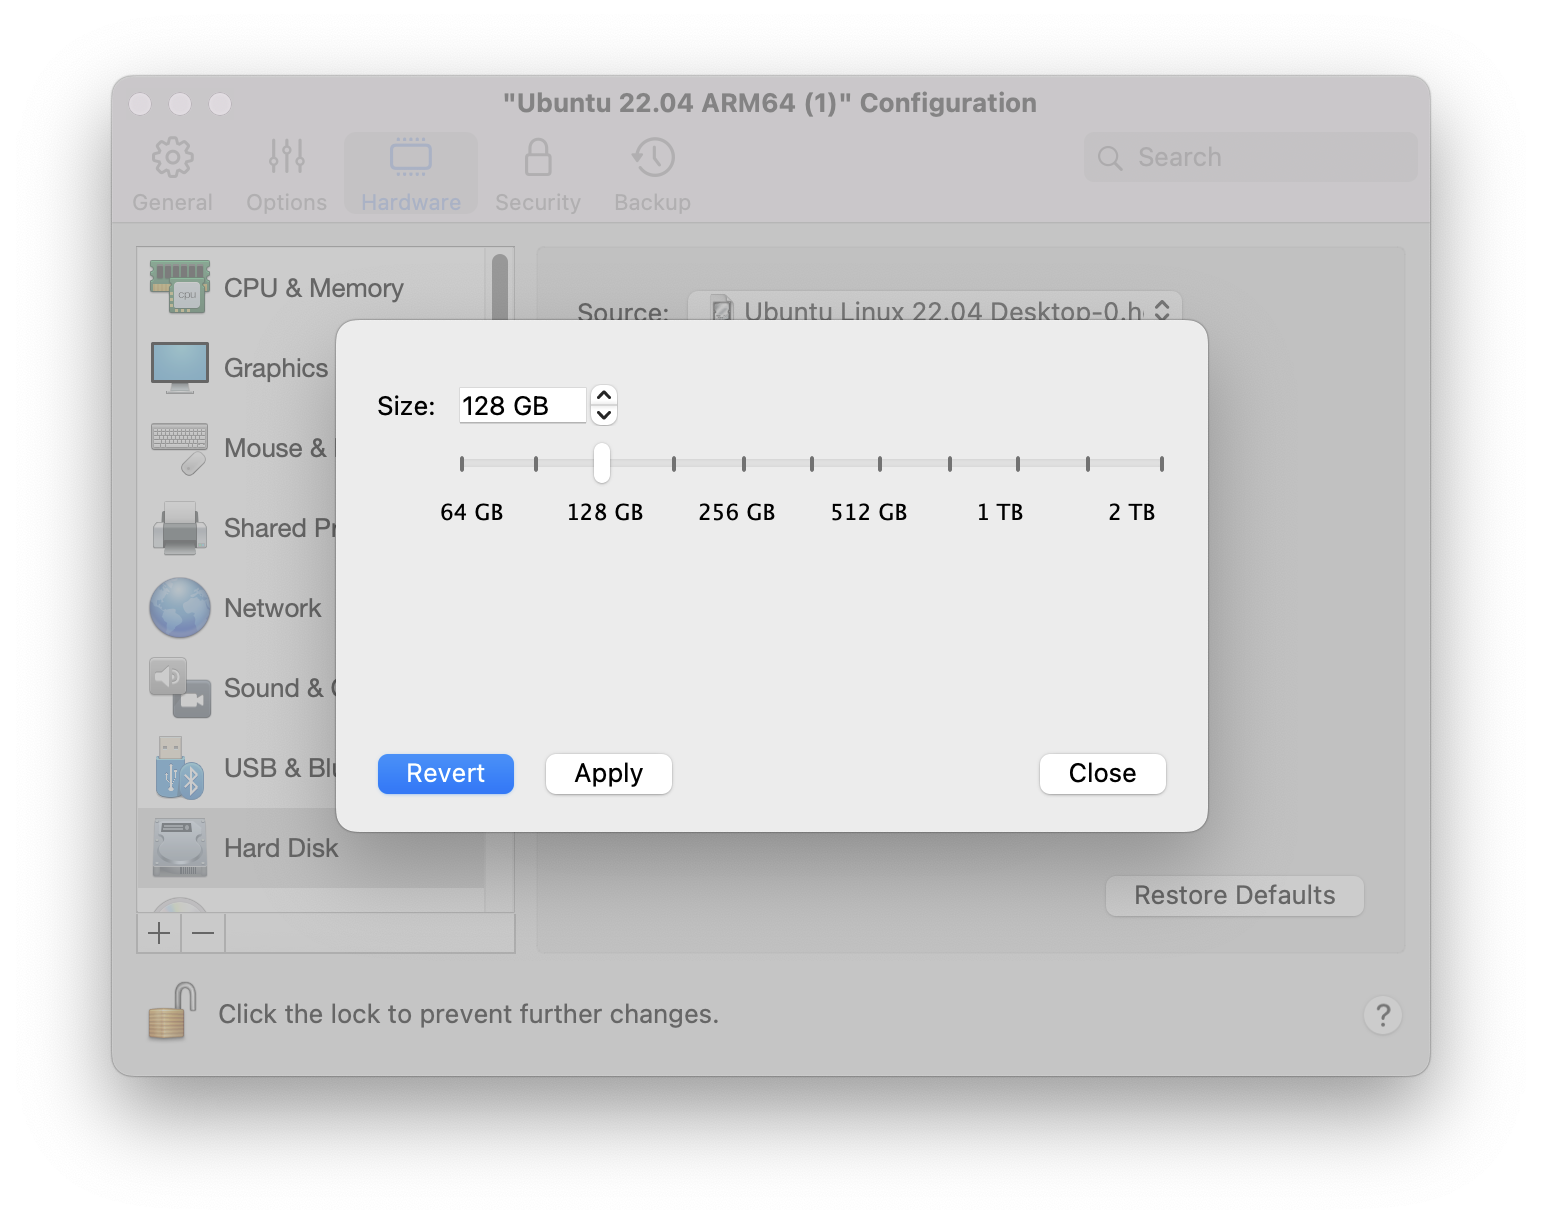
Please change the Ubuntu hardware disk space setting in Parallels Desktop from 64GB to 128GB so that we have enough disk space to install Xschem, Magic, Skywater130 PDK and Ngspice.
To do so, we have to shutdown Ubuntu first by going to Control Center of Parallels Desktop. Right click and then choose Configure.

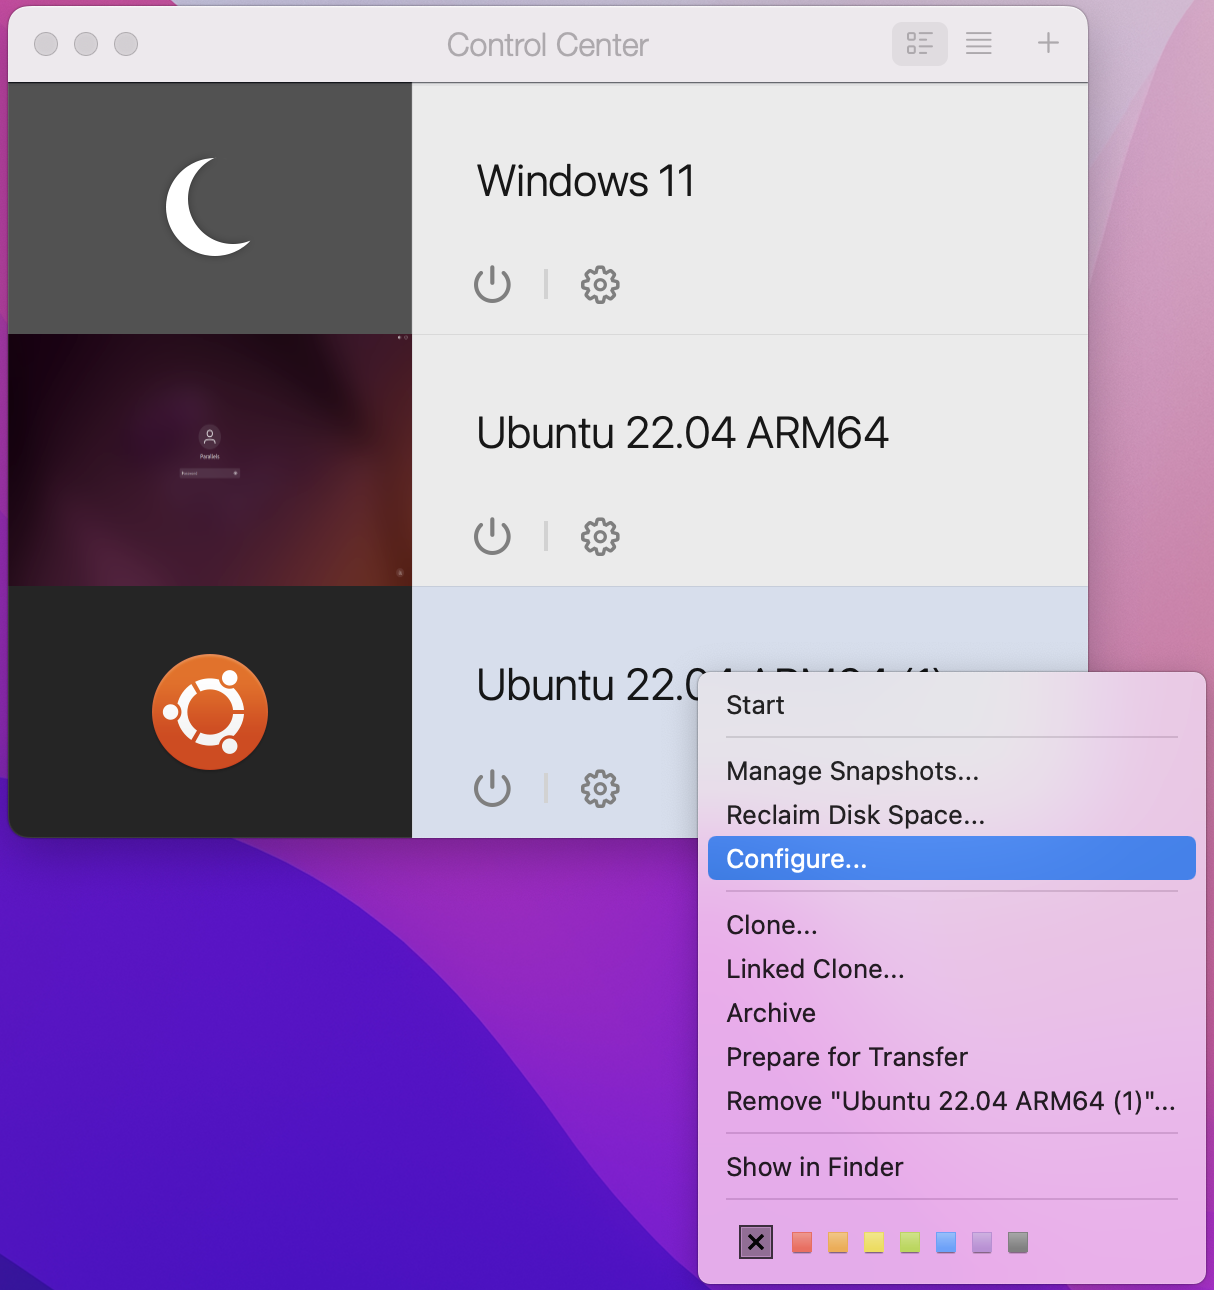
Next, Choose Hard Disk => Advanced... => Properties... => Change size to 128GB => click Apply.

Then at Control Center, start up Ubuntu again.
Step 2 - install Xschem
- If you do not have git installed, we can use the following command to install
gitin the Ubuntu system.
sudo apt-get update
sudo apt-get upgrade
sudo apt-get install git-all
- Next, we can follow the procedure as mentioned in Ref. 3~4. First we clone the Xschem from GitHub repo.
git clone https://github.com/StefanSchippers/xschem.git xschem-git
- Then
cdto thexschem-gitfolder.
cd xschem-git
- Please make sure we have the following packages installed:
sudo apt-get install libx11-6
sudo apt-get install libx11-dev
sudo apt-get install libxrender1
sudo apt-get install libxrender-dev
sudo apt-get install libxcb1
sudo apt-get install libx11-xcb-dev
sudo apt-get install libcairo2
sudo apt-get install libcairo2-dev
sudo apt-get install tcl8.6
sudo apt-get install tcl8.6-dev
sudo apt-get install tk8.6
sudo apt-get install tk8.6-dev
sudo apt-get install flex
sudo apt-get install bison
sudo apt-get install libxpm4
sudo apt-get install libxpm-dev
sudo apt-get install gawk
sudo apt-get install mawk
sudo apt-get install tcl-tclreadline
sudo apt-get install xterm
- Next, try
configurecommand to check if we have the necessary packages installed in the Ubuntu system.
./configure
- Next, we need to become to the
rootso that theXschemcan be installed at/usr/localpath. To do so, we can try the following command:
sudo -i
cd /home/parallels/Desktop/xschem-git
After you became root, we need to go to the xschem-git folder. In my case, here is the path /home/parallels/Desktop/xschem-git.
- Next we can try the following command to install
Xschem.
make
make install
If you would like your simulation folder to be at your local instead of the system root path, you can do so:
cp -r .xschem/ /home/parallels
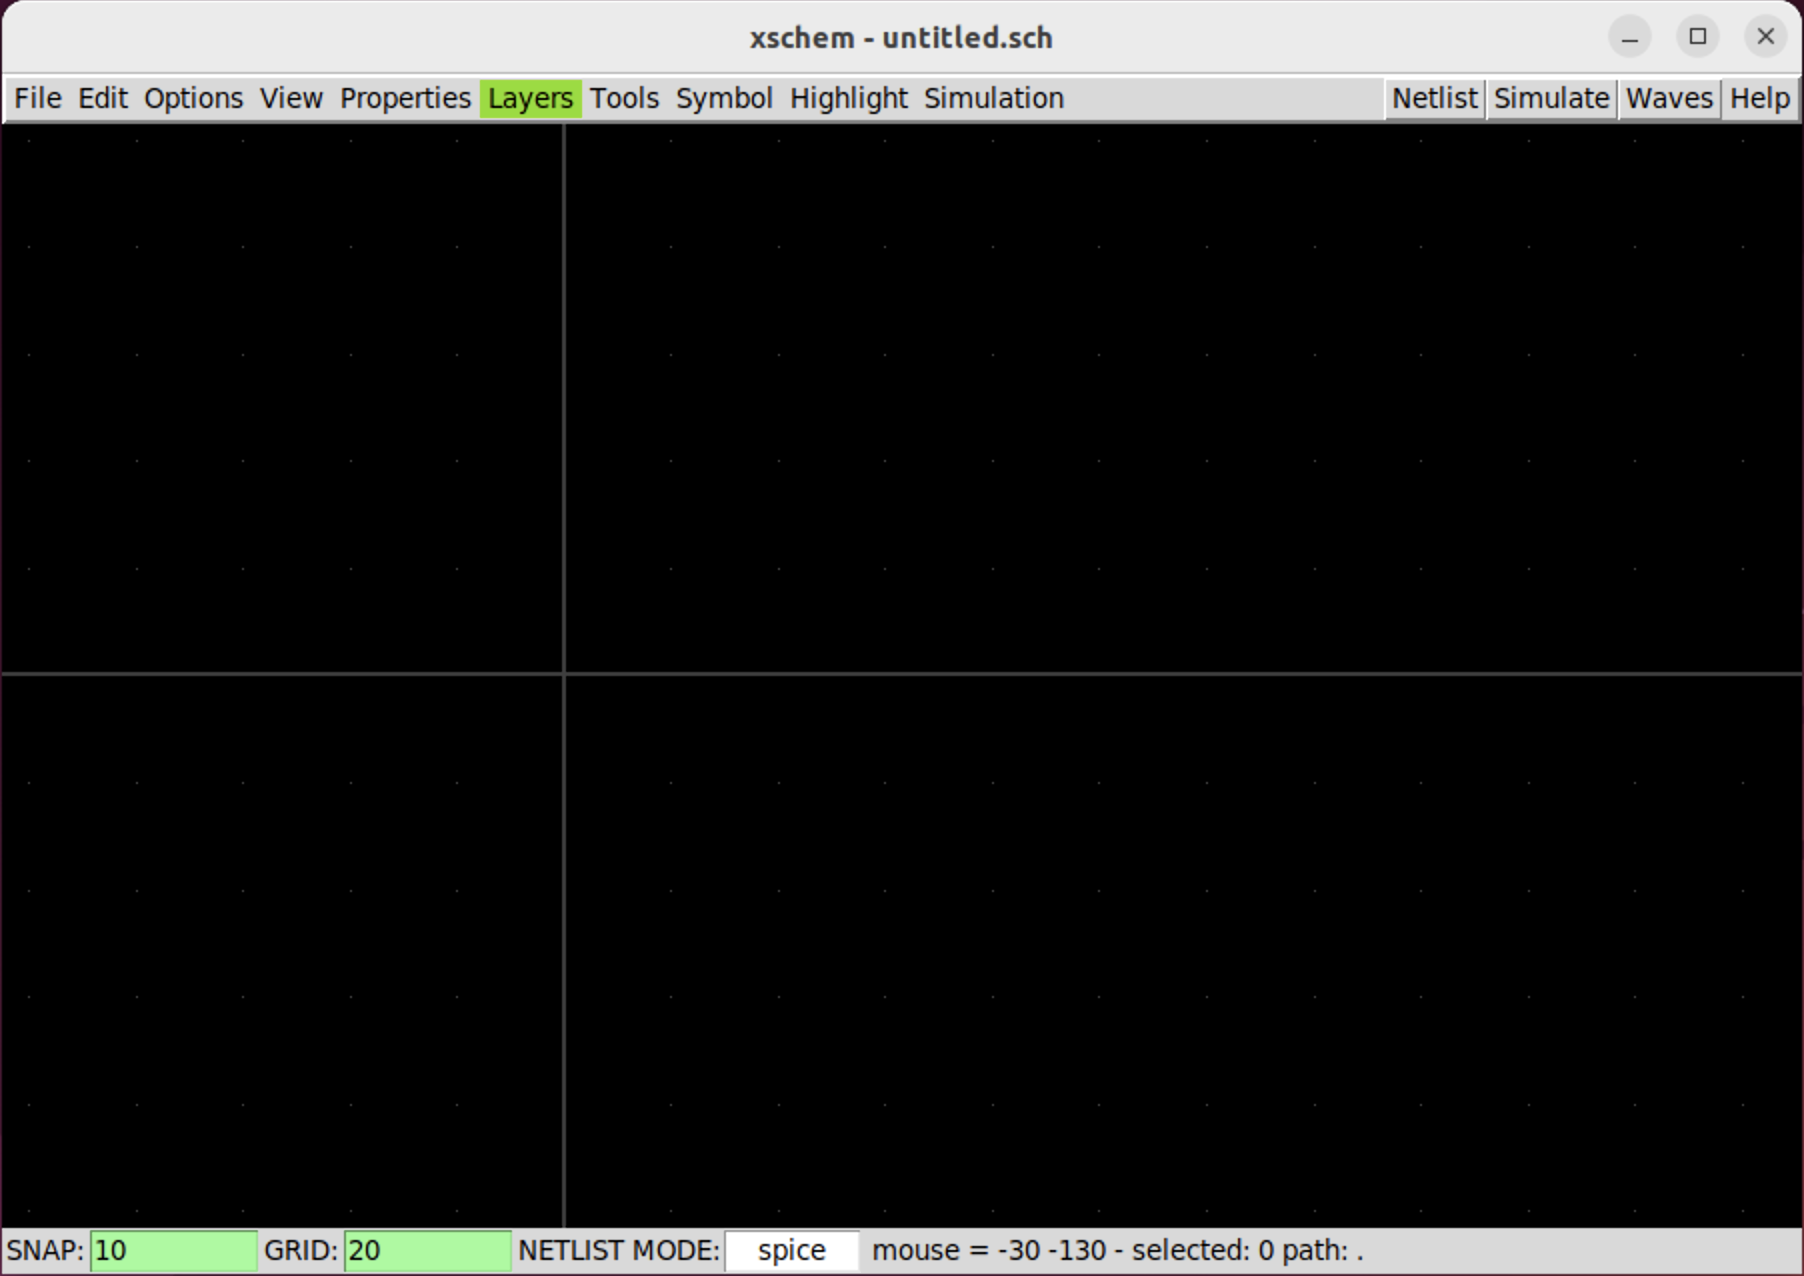
- After the Xschem is installed, we can type
xschemin the terminal to start theXschem.

Step 3 - install Magic
- First, clone Magic from Git Repo.
cd /home/parallels/Desktop
git clone git://opencircuitdesign.com/magic
cd magic
- Next, install the necessary packages:
sudo apt-get install m4
sudo apt-get install tcsh
sudo apt-get install csh
sudo apt-get install libx11-dev
sudo apt-get install tcl-dev tk-dev
sudo apt-get install libcairo2-dev
sudo apt-get install mesa-common-dev libglu1-mesa-dev
sudo apt-get install libncurses-dev
- After the necessary packages are installed, we can install Magic.
./configure
make
make install
- After the installation, you can type
magicin the terminal window to see if you can start theMagicsoftware. If so,Magichas been successfully installed.
Step 4 - install Skywater130 PDK[5-6]
- At your home directory, enter the following command. At a minimum, initialize the first four submodules (io, pr, sc_hd, and sc_hvl). These comprise the I/O pad cells, the primitive devices, the high-density digital standard cells, and the high-voltage digital standard cells.
cd /home/parallels/Desktop
git clone https://github.com/google/skywater-pdk
cd skywater-pdk
git submodule init libraries/sky130_fd_io/latest
git submodule init libraries/sky130_fd_pr/latest
git submodule init libraries/sky130_fd_sc_hd/latest
git submodule init libraries/sky130_fd_sc_hdll/latest

# optional -----------
git submodule init libraries/sky130_fd_sc_hs/latest
git submodule init libraries/sky130_fd_sc_ms/latest
git submodule init libraries/sky130_fd_sc_ls/latest
git submodule init libraries/sky130_fd_sc_lp/latest
git submodule init libraries/sky130_fd_sc_hvl/latest
# --------------------

# You can skip the above optional command. But the following two commands must be run.
git submodule update
make timing
Step 5 - install Open_PDKs[7]
- First, download
Open_PDKs.
cd /home/parallels/Desktop
git clone git://opencircuitdesign.com/open_pdks
cd open_pdks
- Next, we try the following
configurecommand. Notice that here we need to specify theSkywater130PDK path. In my case, it is/home/parallels/Desktop/skywater-pdk.
./configure --enable-sky130-pdk=/home/parallels/Desktop/skywater-pdk
- If the
configureis successful, we can run the following command to installOpen_PDKs.
make
make install
Step 6 - install Ngspice[4]
- The following packages might be needed to be installed on your system.
sudo apt-get install adms
sudo apt-get install autoconf
sudo apt-get install libtool
sudo apt-get install libxaw7-dev
sudo apt-get install build-essential
sudo apt-get install libc6-dev
sudo apt update
sudo apt upgrade
sudo apt-get install manpages-dev man-db manpages-posix-dev
sudo apt-get install libreadline6-dev
sudo apt-get update -y
- Next, download Ngspice from its git repo.
cd /home/parallels/Desktop
git clone https://github.com/ngspice/ngspice.git
cd ngspice
./autogen.sh --adms
- Then, create release folder.
mkdir release
cd release
- Configure and install Ngspice.
../configure  --with-x --with-readline=yes --disable-debug
make
sudo make install
- After Ngspice is installed, go to Xschem simulation folder, in my case it is
/home/parallels/.xschem/simulations. At this folder, create a.spiceinitfile with the following content.
set ngbehavior=hs
Step 6 - verify Xschem and Ngspice through the simulation example
- Close the terminal where you are
root. Then open a new terminal. I would like my projects to be at my localDesktop.
cd
cd Desktop
mkdir projects
cd projects
cp /usr/local/share/pdk/sky130A/libs.tech/xschem/xschemrc /home/parallels/Desktop/projects
xschem
The above command basically copy Xschem configuration file xschemrc to the projects folder where we start Xschem.
- After
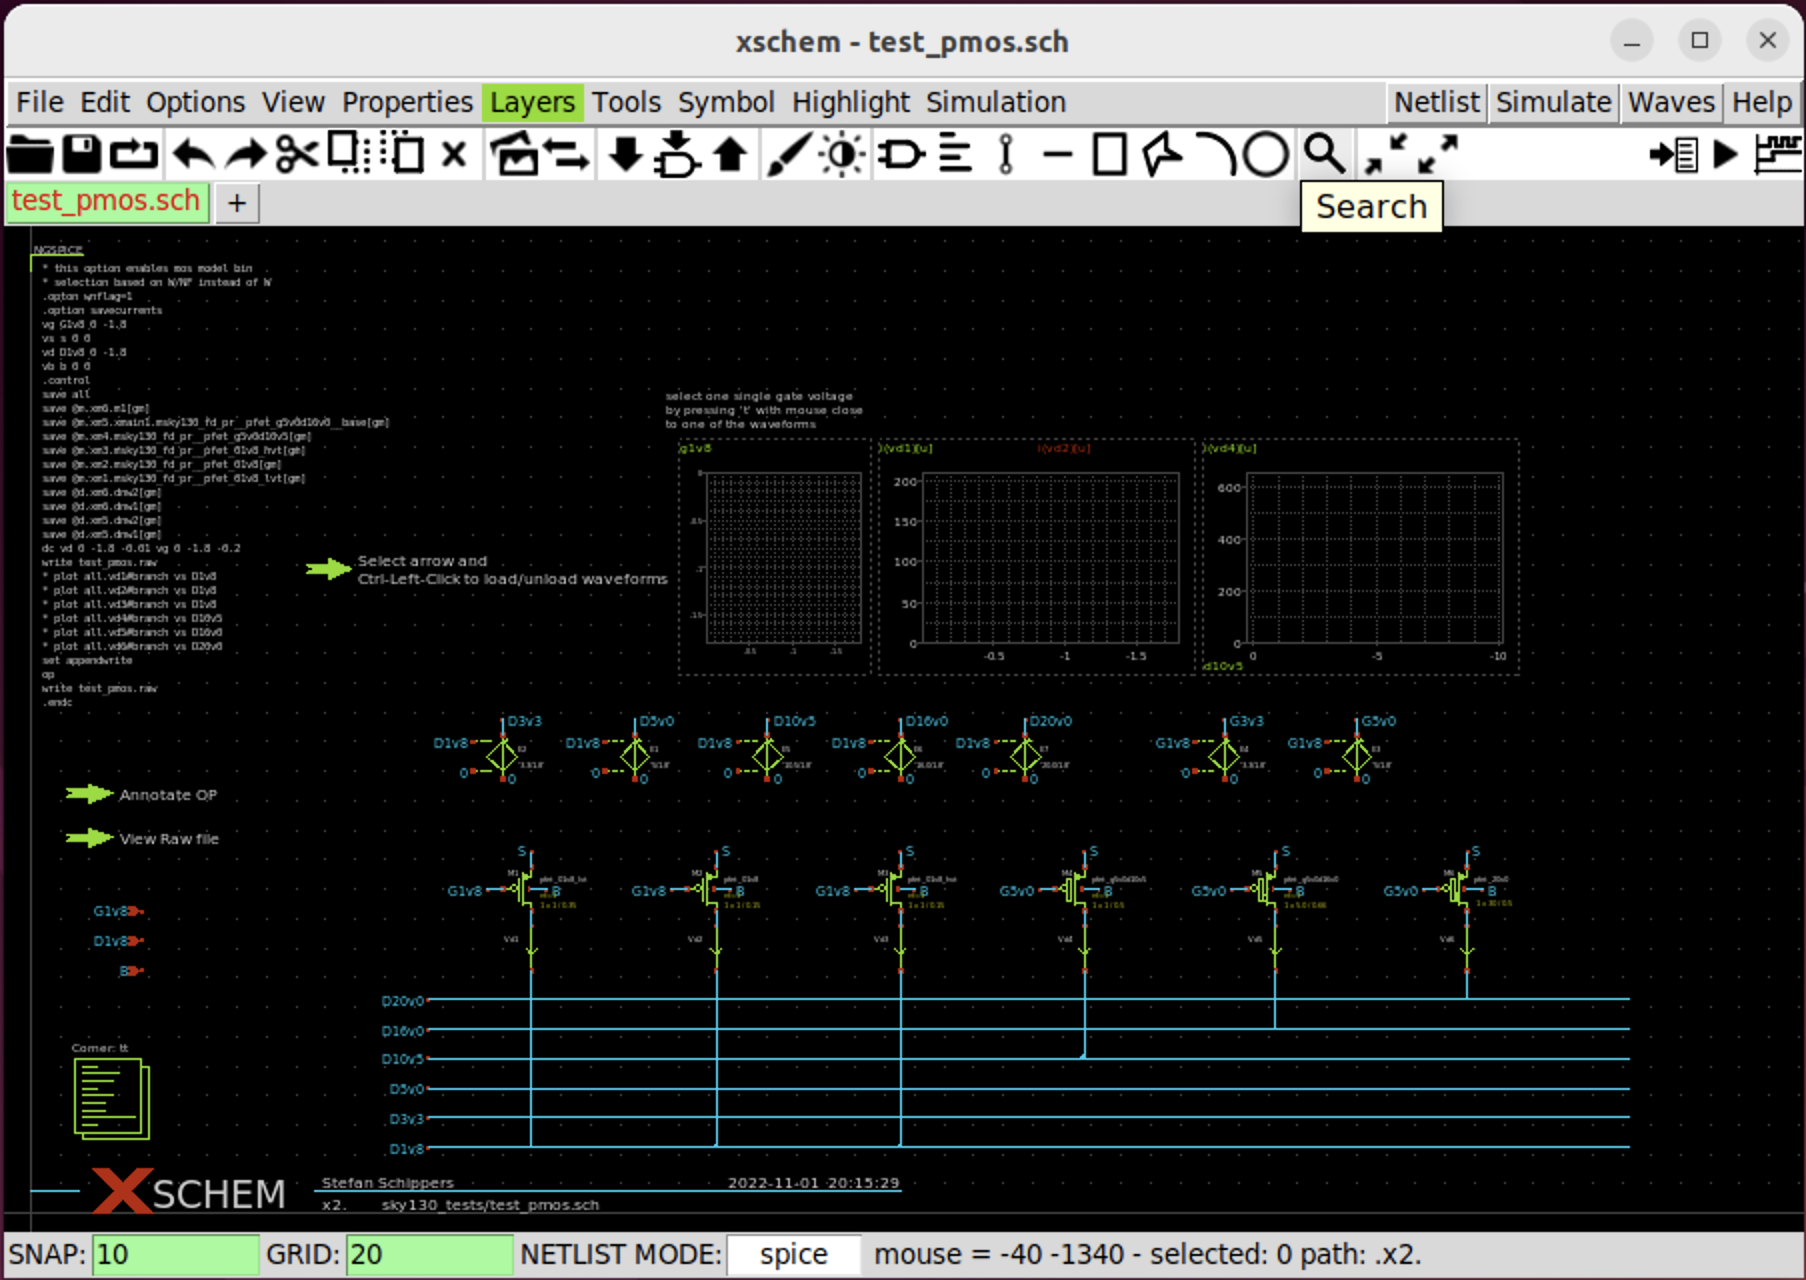
xschemcommand is entered in the terminal,Xschemshall be started with the following content as shown in Fig. 5.

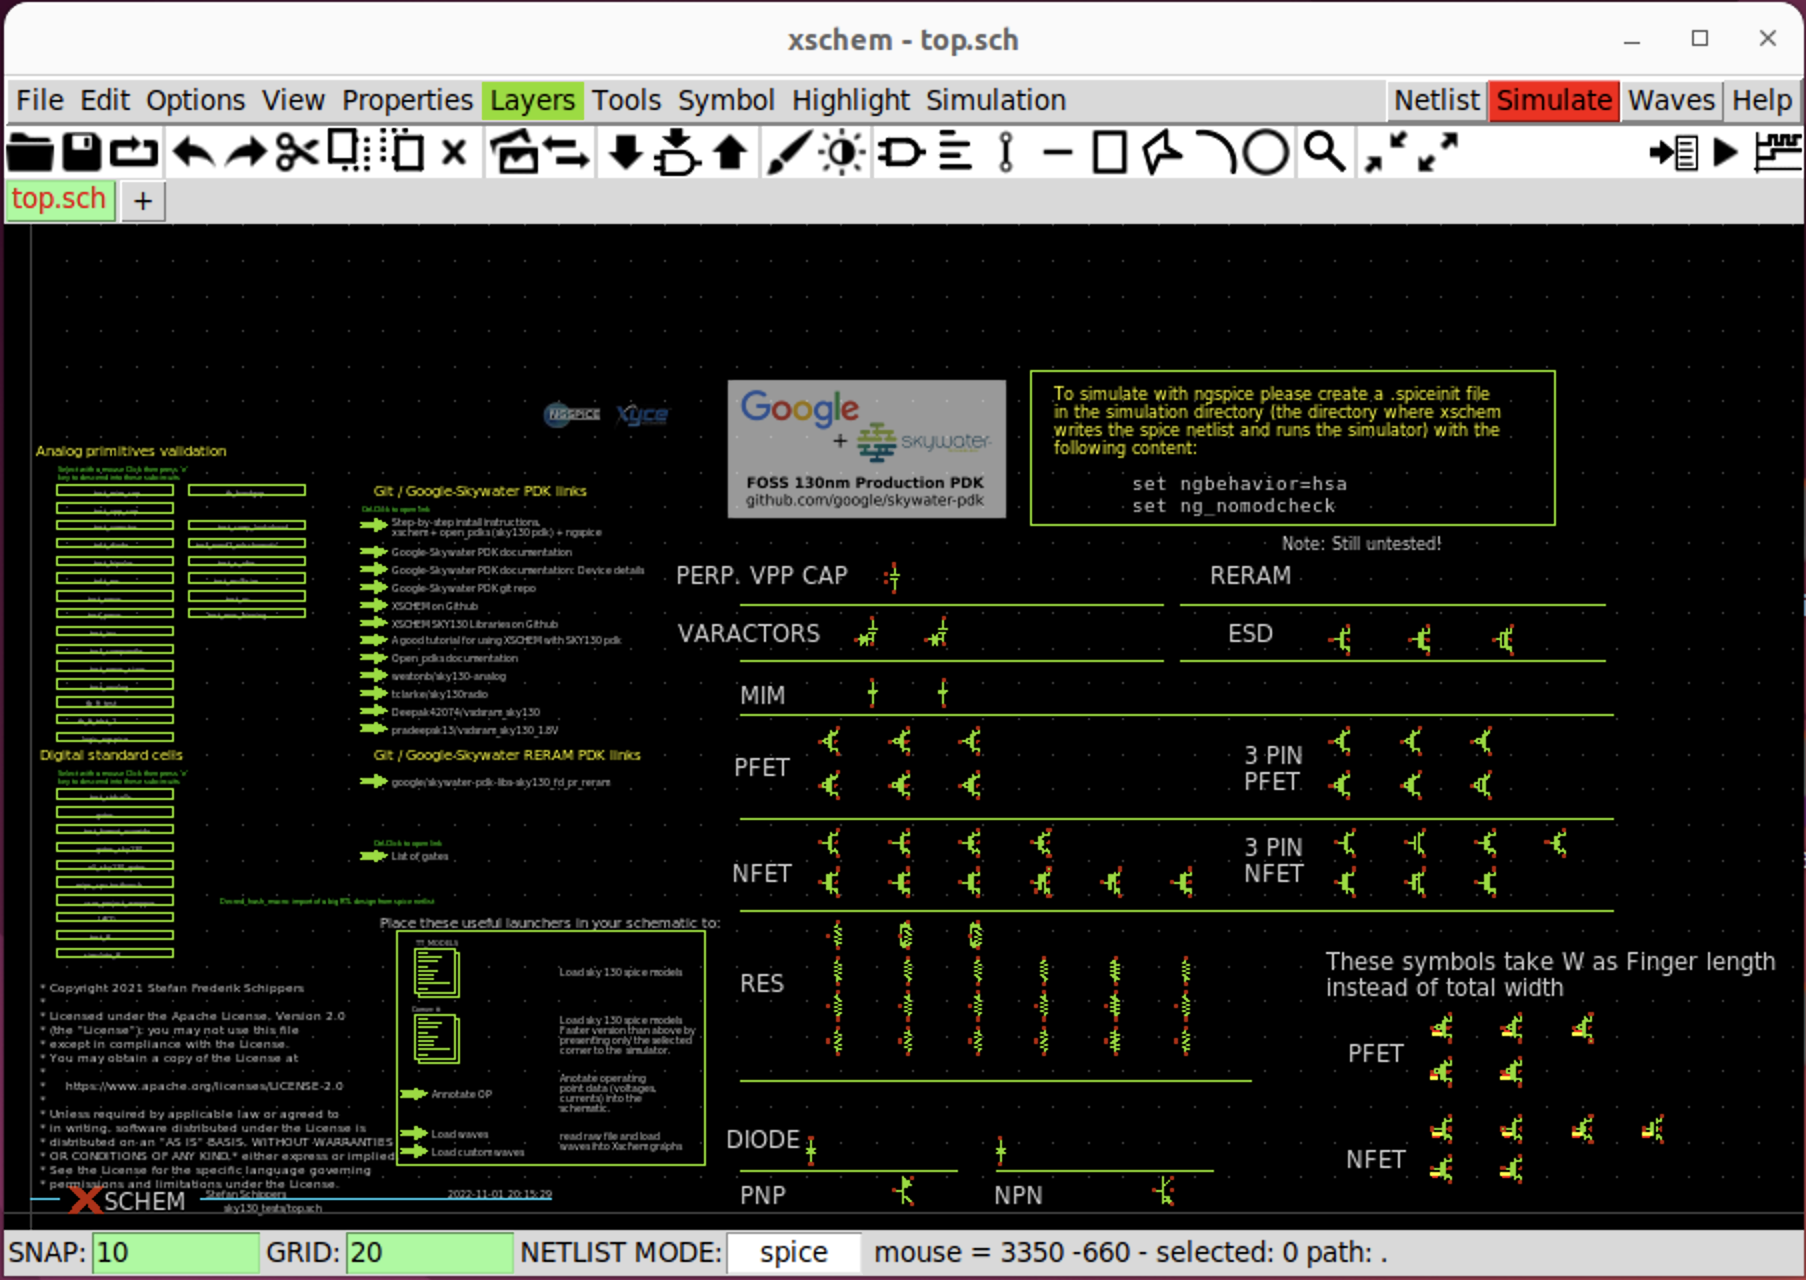
- Then zoom in to the left side using the hot key
shift+z. Clicktest_pmosand press hot keyeto enter.
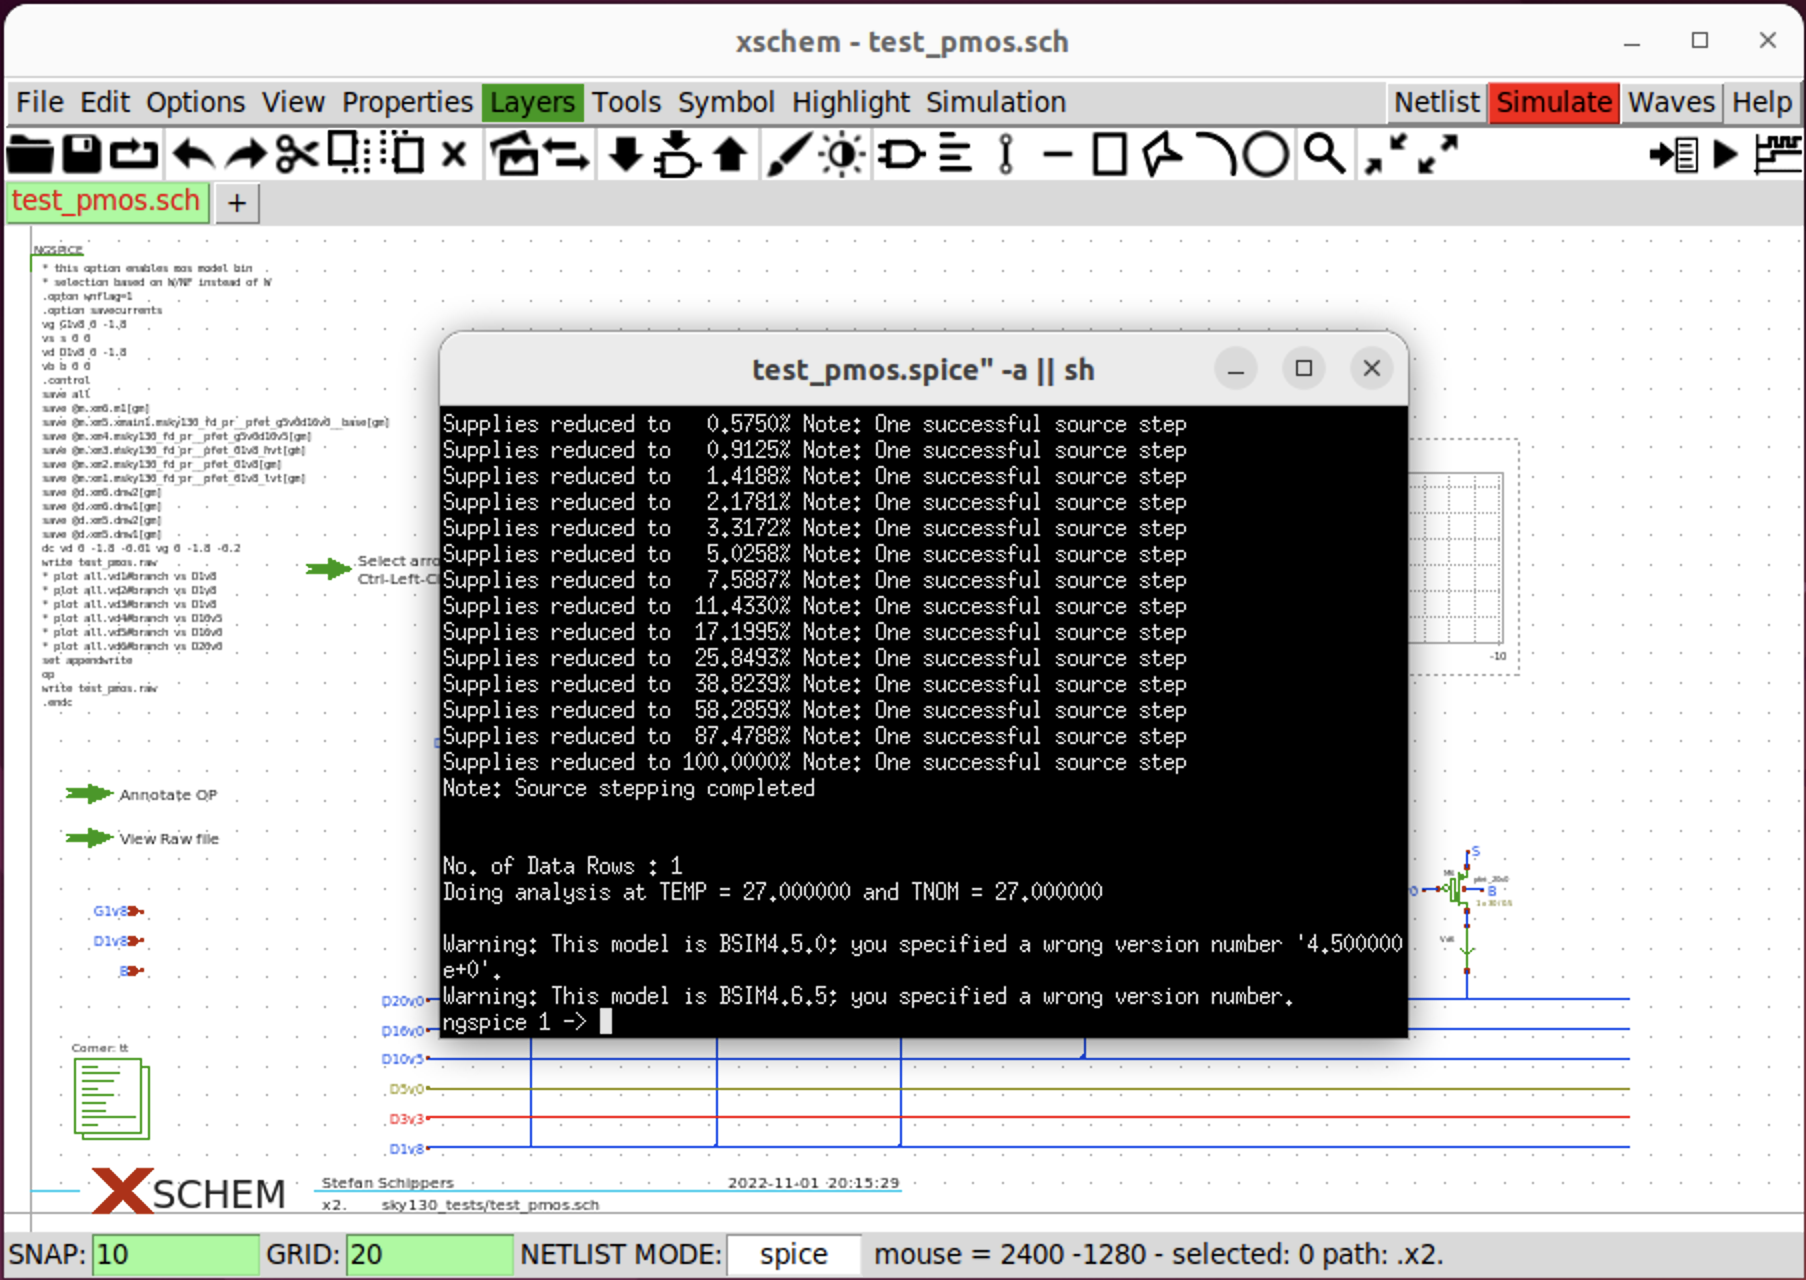
On the top right, click Netlist and then click Simulate. The Ngspice window shall pop up as shown in Fig. 7.
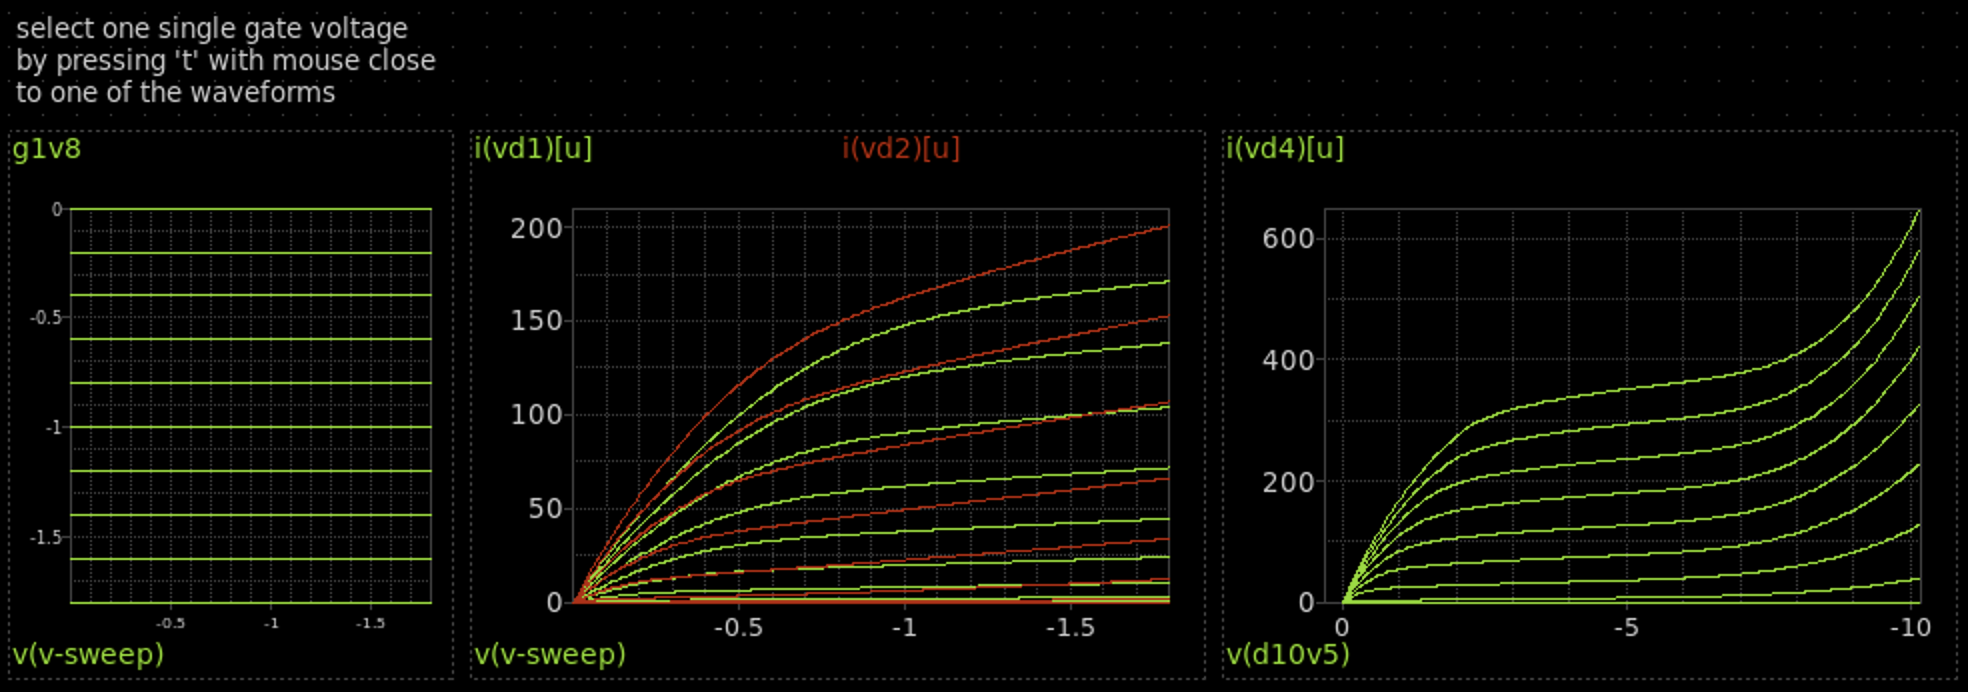
If you would like to use gaw to view the waveform, you have to install gaw package. You can also load the waveform without a third party waveform viewer by clicking Simulation => Load/Unload spice .raw file.

Summary
I am not an expert of Ubuntu. It takes me about two days to finally install Xschem, Ngspice, Skywater130 PDK into the Ubuntu installed through Parallels Desktop on my Mac.
The above blog post may not capture all the details and problems I have encountered during the installation. For example, I first use Ref. [4] to install Xschem, and finally find out that part of the video is out dated. So I switch to use Ref. [6]. During the installation, Ubuntu complains the disk is full. So I deleted the entire Ubuntu from Parallels Desktop and start over again.
This time, I only initialized the first four submodule instead (io, pr, sc_hd, and sc_hvl) instead.
Please use Google to solve the problem and find out which dependencies you need to install during the installation. Eventually, you will get there!
Installation of EDA and PDKs is not fun 😔. But after you struggling with the installation, we will eventually arrive at the fun part - Circuits!
Enjoy!😊
References
[1] XSCHEM website
[3] Xschem installation guideline
[4] Stefan Schippers - Youtube tutorial
[6] Stefan Schippers - Youtube tutorial
[8] Magic website